Deep linking in React Native
In this blog, we are going to integrate Deeplinking in React Native. We will cover the android deep linking part in this blog. So let’s get started.
Deep linking in React Native:
When a clicked link or programmatic request invokes a web URI intent, the Android system tries each of the following actions, in sequential order, until the request succeeds (Offical Definition of Deep Linking by Google Developers):
- Open the user’s preferred app that can handle the URI, if one is designated.
- Open the only available app that can handle the URI.
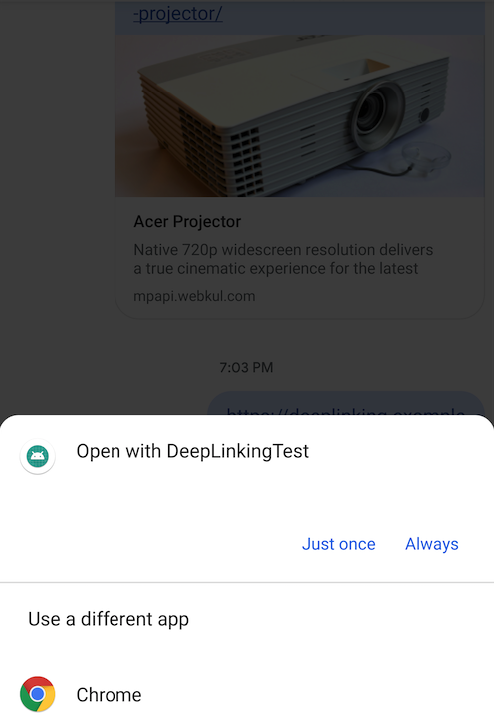
- Allow the user to select an app from a dialog.
In simple words, we can say that deep linking is a process in which you are getting information from a web URL and open it into apps.
Eg. Let suppose you have an eCommerce website in which you have a product URL you want that when the user clicks on it. It should be open into the android application rather than Browser. So here Deep linking comes.
We can get the information from the website URL.
Add intent filters for incoming links:
To create a link to your app content, add an intent filter that contains these elements and attribute values in your manifest:
<action>Specify theACTION_VIEWintent action so that the intent filter can be reached from Google Search.<data>Add one or more<data>tags, each of which represents a URI format that resolves to the activity. At minimum, the<data>tag must include theandroid:schemeattribute.You can add more attributes to further refine the type of URI that the activity accepts. For example, you might have multiple activities that accept similar URIs, but which differ simply based on the path name. In this case, use theandroid:pathattribute or itspathPatternorpathPrefixvariants to differentiate which activity the system should open for different URI paths.-
<category>- Include the
BROWSABLEcategory. It is required in order for the intent filter to be accessible from a web browser. Without it, clicking a link in a browser cannot resolve to your app.Also, include theDEFAULTcategory. This allows your app to respond to implicit intents. Without this, the activity can be started only if the intent specifies your app component name.
those attributes are the most important part of setup the deep links in your android app without them you can not achieve the deep linking.
AndroidManifest.xml:
|
1 2 3 4 5 6 7 8 9 10 11 12 13 14 15 |
<activity <intent-filter> <action android:name="android.intent.action.VIEW" /> <category android:name="android.intent.category.DEFAULT" /> <category android:name="android.intent.category.BROWSABLE" /> <data android:host="deeplinking.example" android:pathPrefix="/" android:scheme="https" /> <data android:host="deeplinking.example" android:pathPrefix="/" android:scheme="http" /> </intent-filter> </activity> |
Here our native android setup has been completed and after doing all this your app will open on click of https://www.deeplinking.example/ or http://www.deeplinking.example/ and now you can get the URL in your App.js file.
App.js:
|
1 2 3 4 5 6 7 8 9 10 11 12 13 14 |
import {Linking} from 'react-native'; class App extends Component { componentDidMount = () => { Linking.getInitalURL().then((url)=>{ console.log('AppLink=>>>',url); this.redirectLinkPage(url); }).catch(err => console.error('An error occurred',err)); } redirectLinkPage = (linkURL) = > { console.log('AppLink=>>>',linkURL); } } |
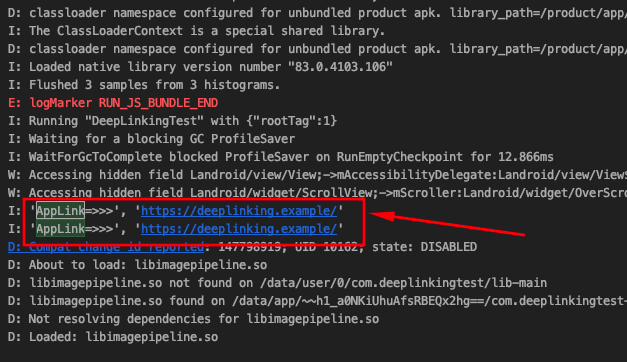
Here you got the deep linking URL in your catalog. You can navigate the app to any screen from here and also get the query information from the URL.


I hope it will help to integrate deep linking in react native android apps.
Reference ->
https://reactnative.dev/docs/linking,
https://developer.android.com/training/app-links/deep-linking

Linking.getInitalURL()