The choice chip is a material widget in Flutter. The choice chip allows the user to make a single selection from a set/group of chips. It contains a similar kind of text or categories. Flutter provides a widget called ChoiceChip that lets us add the choice chip to our application. It requires one of its ancestors to be a Material widget. So, in this blog, we will learn how to implement choice chips in Flutter.
To create a choice chip in Flutter we have to use the constructor of the ChoiceChip class provided by Flutter. There is two required property for the ChoiceChip widget which are labeled and selected. The label can be any widget usually a text widget and selected is a boolean value that is used to indicate whether the label is selected or unselected. To use a choice chip we have to provide these properties with some values.
You may also check our Flutter app development company page.
Let’s see how can we add choice chips in our Flutter apps.
|
1 2 3 4 5 6 7 8 9 10 11 12 13 14 15 16 17 18 19 20 21 22 23 24 25 26 27 28 29 30 31 32 33 |
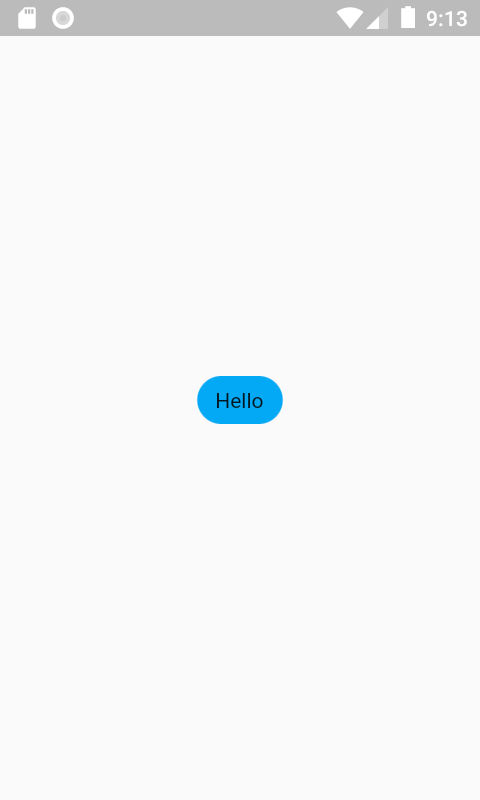
class MyHomePage extends StatefulWidget { const MyHomePage({Key? key}) : super(key: key); @override _MyHomePageState createState() => _MyHomePageState(); } class _MyHomePageState extends State<MyHomePage> { bool isSelected = false; @override Widget build(BuildContext context) { return Scaffold( body: Container( alignment: Alignment.center, child: ChoiceChip( label: const Text("Hello"), selected: isSelected, onSelected: (bool value){ isSelected = !isSelected; }, pressElevation: 20, backgroundColor: Colors.lightBlue, ) ) ); } } |
You can also add a list of chips to select from many options available.
Output:
So, this is how we implement choice chips in Flutter.
Thanks for reading this article.
If I got something wrong, let me know in the comments. I would love to improve.
Reference Link: https://www.woolha.com/tutorials/flutter-using-choicechip-widget-examples
You can also read: https://mobikul.com/reorderable-listview-in-flutter/

Be the first to comment.