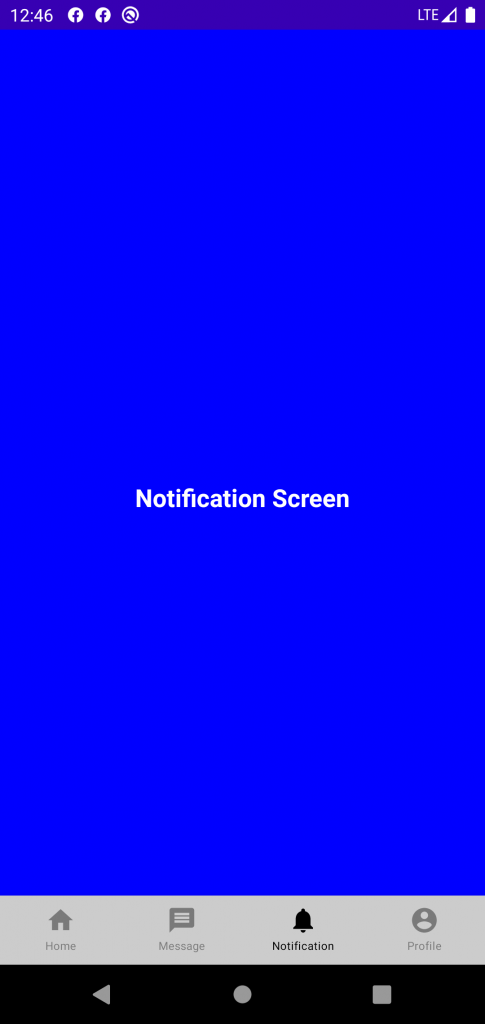
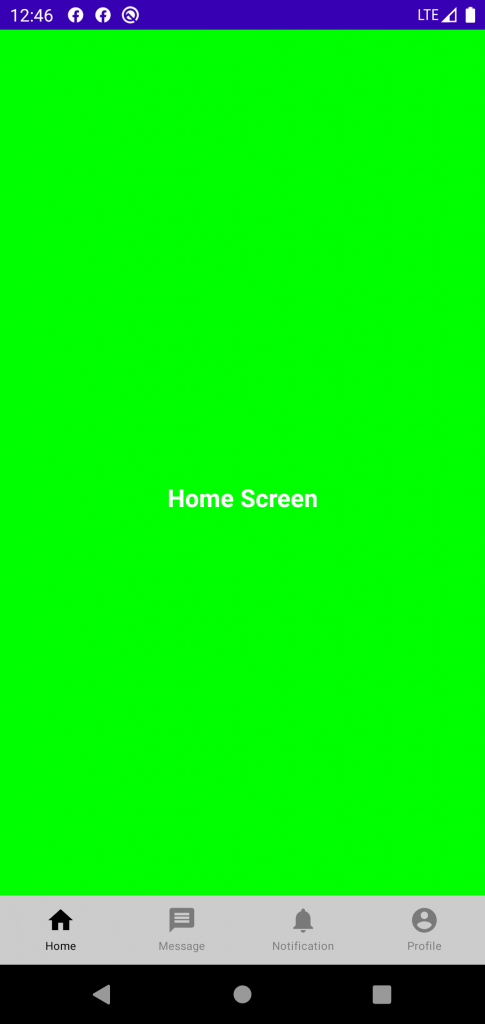
In this block, we are going to learn about the bottom navigation bar in jetpack compose using the navigation component. I have designed bottom navigation just like a social media app. The Navigation component provides support for Jetpack Compose applications. You can navigate between compostables while taking advantage of the Navigation component’s infrastructure and features. Navigation in jetpack compose is different from XML navigation design in android.
Add Dependency
First of all, use the following navigation dependency in your app module’s build.gradle file in android.
|
1 2 3 4 5 6 |
dependencies { def nav_version = "2.4.1" implementation("androidx.navigation:navigation-compose:$nav_version") } |
Create Screens
After building, the project creates NavigationScreens.kt file. we are not using fragments and activities to display the content, so we are creating composable functions to show the screen content. now we are creating four composable functions home screen, message screen, notification screen, and profile screen. these functions display the navigation screen.
|
1 2 3 4 5 6 7 8 9 10 11 12 13 14 15 16 17 18 19 20 21 22 23 24 25 26 27 28 29 30 31 32 33 34 35 36 37 38 39 40 41 42 43 44 45 46 47 48 49 50 51 52 53 54 55 56 57 58 59 60 61 62 63 64 |
@Composable fun HomeScreen() { Column( modifier = Modifier .fillMaxSize() .wrapContentSize(Alignment.Center) ) { Image( painter = painterResource(id = R.drawable.image), contentDescription = null, modifier = Modifier.align(Alignment.CenterHorizontally), ) } } @Composable fun messageScreen() { Column( modifier = Modifier .fillMaxSize() .wrapContentSize(Alignment.Center) ) { Image( painter = painterResource(id = R.drawable.image), contentDescription = null, modifier = Modifier.align(Alignment.CenterHorizontally), ) } } @Composable fun notificationScreen() { Column( modifier = Modifier .fillMaxSize() .wrapContentSize(Alignment.Center) ) { Image( painter = painterResource(id = R.drawable.image), contentDescription = null, modifier = Modifier.align(Alignment.CenterHorizontally), ) } } @Composable fun profileScreen() { Column( modifier = Modifier .fillMaxSize() .wrapContentSize(Alignment.Center) ) { Image( painter = painterResource(id = R.drawable.image), contentDescription = null, modifier = Modifier.align(Alignment.CenterHorizontally), ) } } |
Create Directory
After creating the screens, we are creating a sealed class with the name BottomNavigationFiles to store navigation files like title, item icon, and item route key. which we will use these files to route the navigation between screens.
|
1 2 3 4 5 6 7 |
sealed class BottomNavigationFiles(var title:String, var icon:Int, var screen_route:String){ object Home : BottomNavigationFiles("Home", R.drawable.ic_baseline_home_24,"home") object Message: BottomNavigationFiles("Message",R.drawable.ic_baseline_message_24,"message") object Notification: BottomNavigationFiles("Notification",R.drawable.ic_baseline_notifications_24,"notification") object Profile: BottomNavigationFiles("Profile",R.drawable.ic_baseline_account_circle_24,"profile") } |
Creating a NavHost
Each NavController must be associated with a single NavHost composable. The NavHost links the NavController with a navigation graph that specifies the composable destinations that you should be able to navigate between. So we are creating a composable function “controlScreen” navigation action.
|
1 2 3 4 5 6 7 8 9 10 11 12 13 14 15 16 17 18 |
@Composable fun controlScreens(navController: NavHostController) { NavHost(navController, startDestination = BottomNavigationFiles.Home.screen_route) { composable(BottomNavigationFiles.Home.screen_route) { homeScreen() } composable(BottomNavigationFiles.Message.screen_route) { messageScreen() } composable(BottomNavigationFiles.Notification.screen_route) { notificationScreen() } composable(BottomNavigationFiles.Profile.screen_route) { profileScreen() } } } |
Navigate composable
To navigate to a composable destination in the navigation graph, so we are creating a function “bottomNavigationView” handling the bottom navigation back stack and defining the start destination. To navigate from a composable within the navigation graph, call navigate():
|
1 2 3 4 5 6 7 8 9 10 11 12 13 14 15 16 17 18 19 20 21 22 23 24 25 26 27 28 |
@Composable fun BottomNavigationview(navController: NavController) { BottomNavigation() { val navBackStackEntry by navController.currentBackStackEntryAsState() val currentRoute = navBackStackEntry?.destination?.route items.forEach { item -> BottomNavigationItem( icon = { Icon(painterResource(id = item.icon), contentDescription = item.title) }, selected = currentRoute == item.screen_route, onClick = { navController.navigate(item.screen_route) { navController.graph.startDestinationRoute?.let { screen_route -> popUpTo(screen_route) { saveState = true } } launchSingleTop = true restoreState = true } } ) } } } |
Create Main Function
We are creating the ‘homeScreenView’ composble function with scaffold and define the ‘bottomNavigationView’ and ‘controlScreens’.at last we define this function to onCreateView on the mainActivity.
|
1 2 3 4 5 6 7 8 9 10 11 |
@Composable fun homeScreenView(){ val navController = rememberNavController() Scaffold( bottomBar = { BottomNavigationview(navController = navController) } ) { controlScreens(navController = navController) } } |
Preview


Finally, the output, As you can see what we are doing here is telling the NavHost to run the Notification screen and Home screen.
Conclusion:-
In this blog, we have learned about the Bottom Navigation Bar in jetpack compose. we have learned how to implement NavController and regarding the compose Bottom Navigation Bar visit this link.
Thanks for reading this blog. You can also check other blogs from here.
Always be ready for learning 🙂

2 comments
–> Screenshot:- https://prnt.sc/MEUuEk2NcjiS