Apple Sign-In in Flutter helps to integrate Apple Sign-In for iOS Users in the app. Social Login is very common nowadays. Everyone prefers to sign up for the Applications with the help of a Social Login.
It reduces the amount of time a user spends filling out the details in order to Create an Account.
Our Flutter app development company also provides various Social Login compatibility with your app.
There are several types of Social Login supported by Flutter –
Steps for Integrating Apple Sign-In in Flutter on Firebase Console
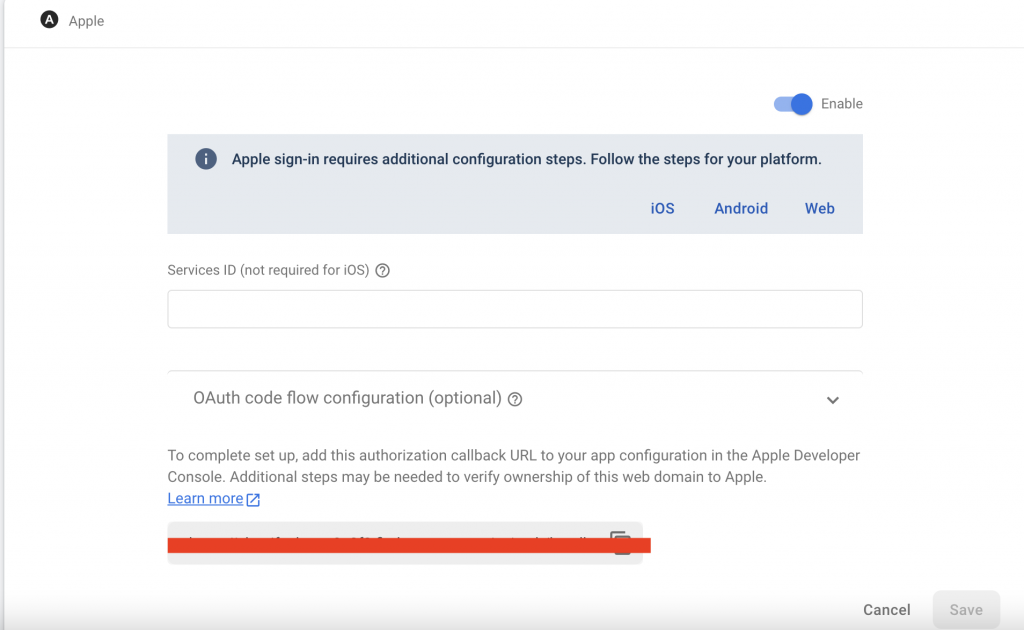
Firstly, we will need to enable “Apple Sign In” on Firebase Console.
Step-1 –> Go To “Firebase Console“. Select your Project.
Step-2 –> Click on “Authentication” from the Drawer Menu
Step-3 –> Now, click on “Sign-in method” Tab.

Step-4 –> Here, you will find all the types of authentication which Firebase supports.
We have to select “Apple” and enable it.
Steps to Enable Apple Sign-In in Flutter through Apple Developer Account
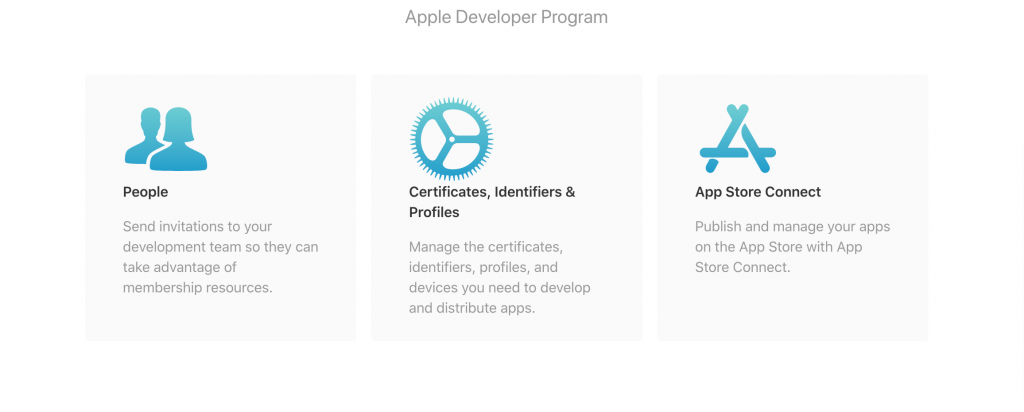
Secondly, we will have to also configure “SignIn with Apple” from Apple Developer Account.
Step-1 –> Go to Apple Developer Account and select “Certificates, Identifiers and Profiles”.
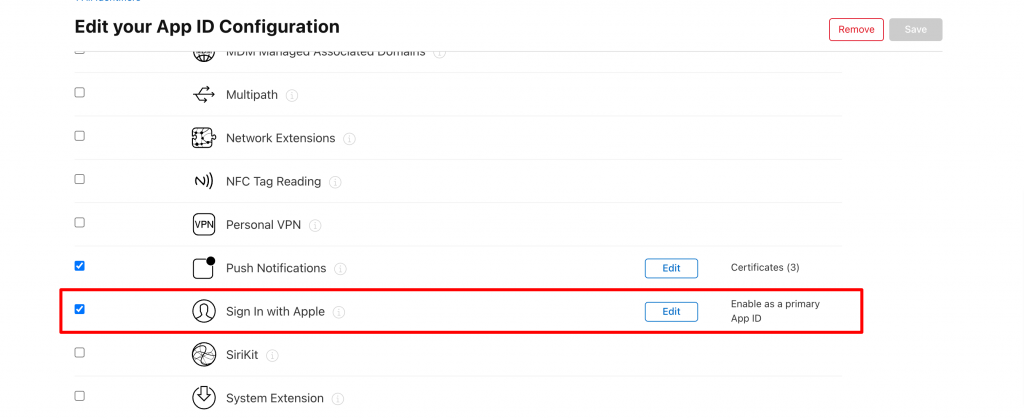
Step-2 –> Now, go to Identifiers and select the Identifier linked with your app.
Step-3 –> Select “Sign In with Apple” within the identifier and “Save” it.
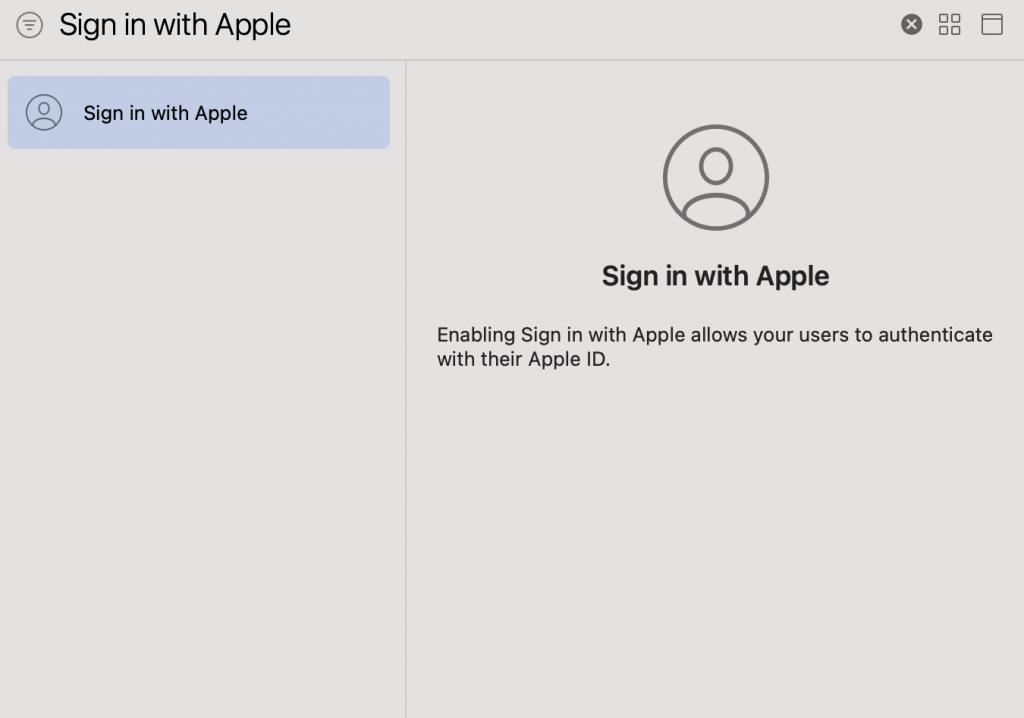
Step-4 –> Once you have enabled Sign In with Apple from Apple Developer Account, now you will have to add it in the Xcode Capability Section.
Once we are done with it, we are all set to write our code.
Step-1 –> Firstly, we will need to add the dependency in our pubspec.yaml file
|
1 |
apple_sign_in: ^0.1.0 |
After adding the dependency, run ‘pub get‘ command.
Step-2 –> Now, we will create an Apple Sign In Button which is provided by the dependency.
|
1 2 3 4 5 6 |
AppleSignInButton( type: ButtonType.signIn, onPressed: (){ //code to be executed }, ) |
Here, we have “type” property which specifies what type of button you want signin,default or continue.
“onPressed” will be used to execute the function.
There are some other properties like cornerRadius, style etc.
Apple SignIn is not supported by all the devices so we also need to add a check in order to determine that the SignIn with Apple will work or not on a particular device.
|
1 2 3 4 |
if (await AppleSignIn.isAvailable()) { final AuthorizationResult result = await AppleSignIn.performRequests([ AppleIdRequest(requestedScopes: [Scope.email, Scope.fullName]) ]); |
Here, we have added a check for AppleSignIn supported devices and after that if AppleSignIn is supported by the device we have requested for the Email and FullName value.
We can also initialize the Scope Value as per the need with the help of Scope.rawValue(value)
After adding this, now we also have to handle the cases whether the user has logged in successfully or not or is there any exception.
For this we can define some cases, on the basis of the status of login result.
|
1 2 3 4 5 6 7 8 9 10 11 |
switch (result.status) { case AuthorizationStatus.authorized: print(result.credential.user); break; case AuthorizationStatus.error: print("Sign in failed"); break; case AuthorizationStatus.cancelled: print('User cancelled the operation'); break; } |
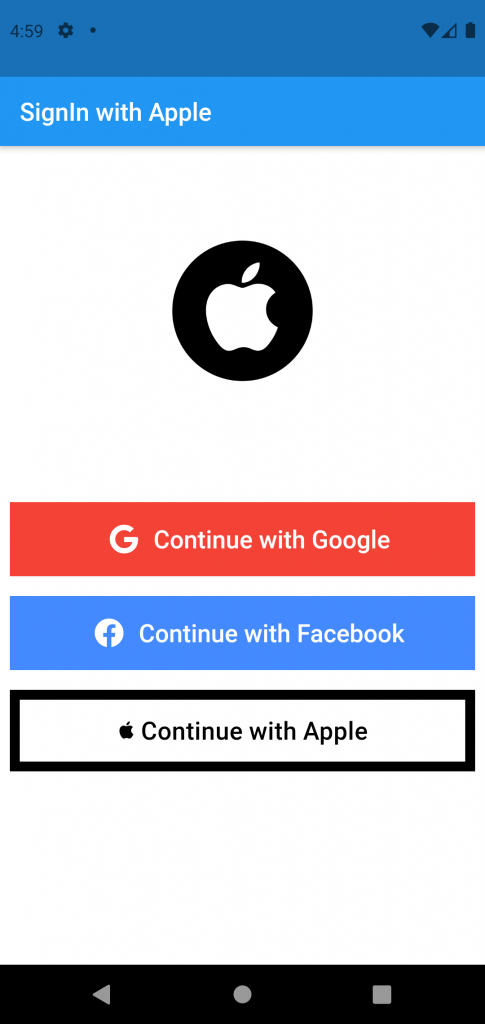
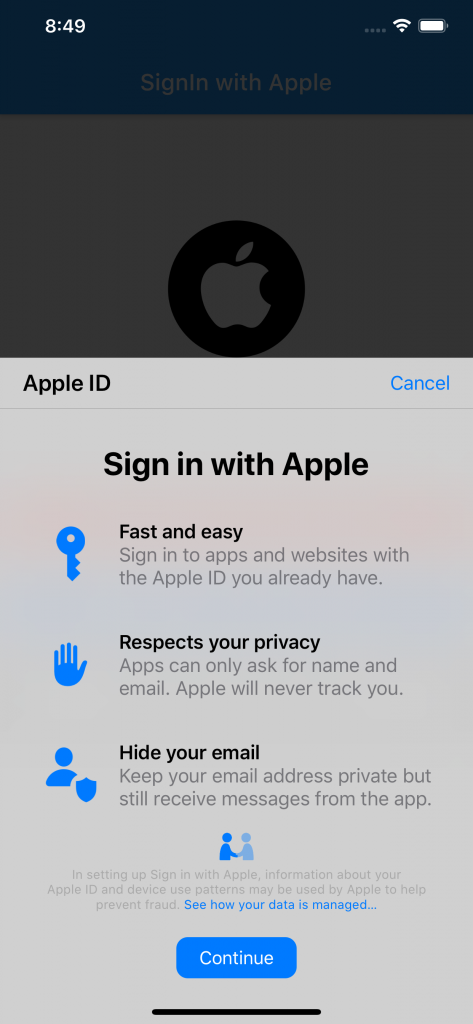
The output of the code is –
Conclusion
In this blog, we have discussed about Apple SignIn in Flutter.
I hope it will help you out in understanding and get a brief idea about it.
Here’s our blog on Google Sign-In in Flutter – https://mobikul.com/google-sign-in-in-flutter/
Thank you for reading!!
References
https://medium.com/smartters-studio/flutter-login-with-apple-3a98582f53a1


regards