Streamlining payments with the Flutter Pay Package has become essential as Flutter’s popularity continues to rise. With this growth comes the increasing need for robust in-app payment solutions.
If you’re building apps with Flutter, you understand the importance of offering easy and secure payment methods.
In-app payments can be complex, but Google’s Pay package for Flutter, now in version 3, simplifies the process with new and exciting features.
This blog post will show you how to use this package. We will look at the new things it can do. Also, we will show you how easy it is to add to your app in just three steps. Let’s get started!
Table of Contents
- New Features in Pay Package v3
- Easy Integration in Three Steps
Exciting New Features in Pay Package v3
Making payments in your app just got easier! The new Pay package, version 3, has some cool updates.
These changes can help you sell more. Also, they make the payment process smoother for your users. Let’s explore what’s new!

Enhanced Google Pay Button
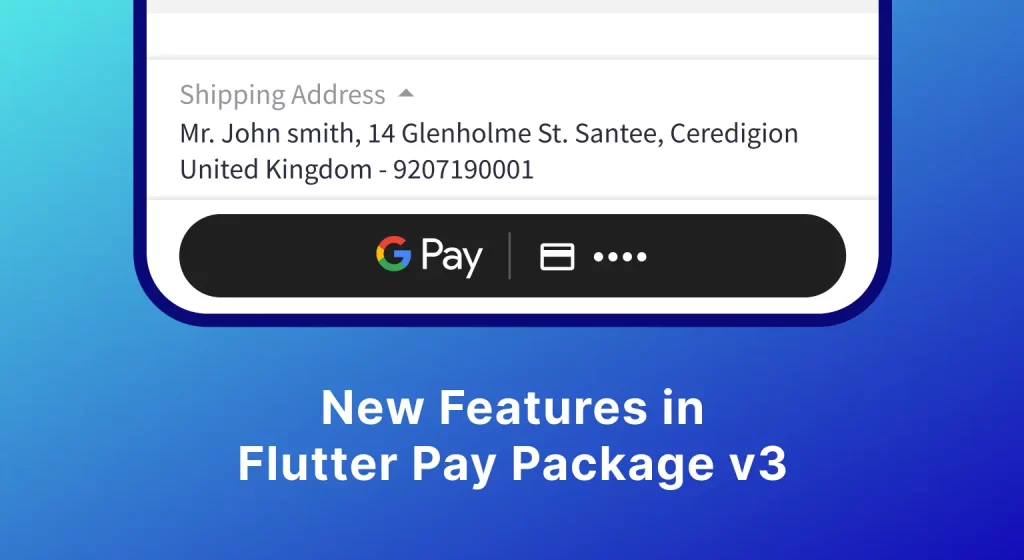
The Google Pay button is now smarter. It shows the last four numbers of the card used before.
Also, it shows the card’s icon. This helps users know which card they are using. This small change can make people feel more confident.
Therefore, they are more likely to complete their purchase. Best of all, you don’t need to change any code to get this feature!
Customizable Payment Buttons
Do you want your payment buttons to match your app’s look? Now you can! You can change how round the corners of the buttons are.
This helps them fit in better with your app’s design. For example, if your app has very round corners, you can make the payment buttons match. This makes your app look more polished.
Flexible Configuration
Setting up payments can be tricky. However, the new Pay package makes it easier. You can now create payment settings from files on your device.
Furthermore, you can use settings from a JSON string online. This is very helpful if your payment settings change often. It also makes it easier to manage your settings.
Example of Flexible Configuration
Imagine your app sells items in different countries. Each country needs different payment settings. With this new feature, you can store each country’s settings in a separate JSON file.
Then, your app can use the right file for the user’s country. This makes managing payments much simpler.
Practical Tips
- Use the enhanced Google Pay button to build trust.
- Make your payment buttons match your app’s style.
- Use JSON files to manage payment settings easily.
These new features in Pay package v3 are designed to make your life easier. They also help your users have a better payment experience.
Therefore, consider updating to the latest version and see the benefits yourself.
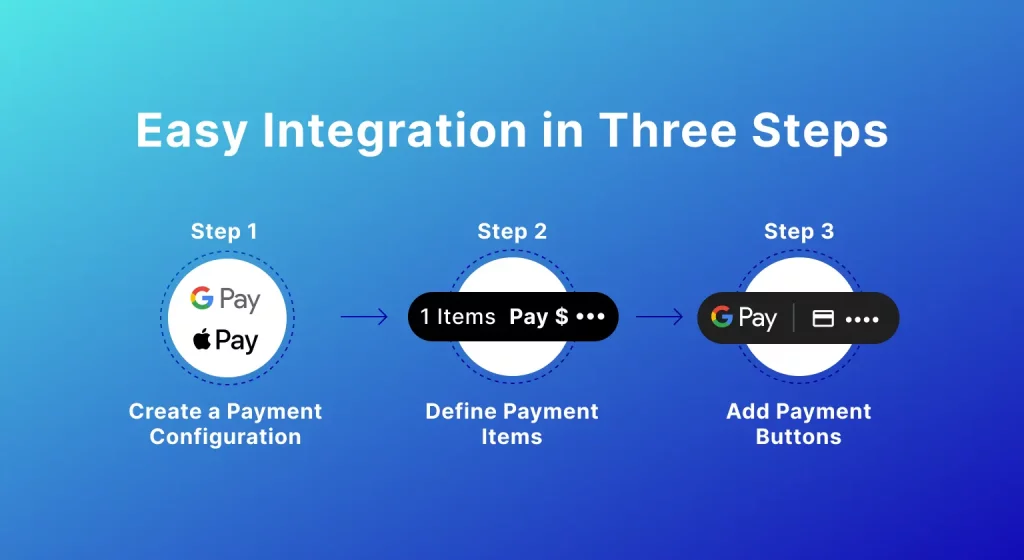
Easy Integration in Three Steps
Making payments in your app should be simple. With Flutter’s Pay package, it can be! You can set up in-app payments in just three easy steps.
This makes it easier for your users to buy things in your app. Let’s see how it works.

Step 1: Create a Payment Configuration
First, you need to tell your app what payment methods it can use. This is done by creating a payment configuration.
You can find an example of this in the “Assets” folder. This file lists the payment services your app will support.
For example, you might include Google Pay or other payment options. This step is like setting the stage for your payments. It makes sure your app knows how to handle different payment types.
Step 2: Define Payment Items
Next, you need to list what your users can buy. This means defining the items and their prices.
Think of it like making a shopping list for your app. You need to say what each item is and how much it costs.
For instance, if you are selling a game, you would list the game and its price. Furthermore, you can add more items like extra lives or special features.
This step makes sure the user knows exactly what they are buying.
Step 3: Add Payment Buttons
Finally, you need to add buttons that let users pay. The Pay package makes this easy. These buttons manage their own state automatically. This means they change to show if payment is ready or not.
Also, you can use childOnError. This is a special feature. It lets you show a different button if a payment service is not available.
For example, if Google Pay is not working, you can show a different payment option. Therefore, your users can always pay, even if one service is down.
In addition, the buttons handle all the hard work of payment. They show the right options and make sure the payment goes through. This makes it easy for users to buy things in your app.
To sum up, integrating payments is easy with Flutter’s Pay package. By following these three steps, you can add payment options to your app quickly.
This makes it easier for your users to buy things. It also makes your app more useful and profitable.
Summary
The new Pay package v3 has cool updates! The Google Pay button now shows the card’s last four numbers and icon. You can also change how the payment buttons look.
It’s easier to set up payments with files or online strings.
Adding payments to your app is easy in three steps. First, create a payment setup. Then, list the items for sale. Finally, add the payment buttons.
That’s all about streamlining payments with Flutter’s Pay Package. For any queries related to Flutter app development, feel free to contact us at Webkul Support System.

Be the first to comment.