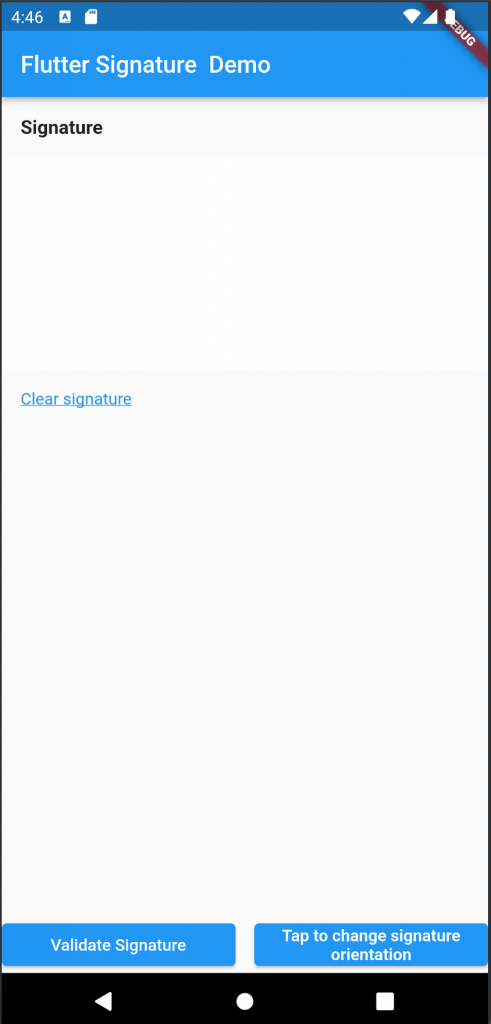
Digital signatures play a crucial role in ensuring the integrity and authenticity of digital documents. By incorporating digital signature functionality into your Flutter app, you can enhance the security of your application. In this blog post, we will explore the process of implementing digital signatures in Flutter.
You may also check our Flutter app development services.
Package:
To implement digital signatures, we need to install the necessary packages. One popular package for signature capture in Flutter is the ‘signature‘ package. Add the package to your project by adding the following line to your pubspec.yaml file.

Implementation:
Design the user interface for capturing the signature. You can create a new Flutter widget or integrate the signature capture functionality into an existing widget. Use the ‘signature’ package to create a Signature widget that allows users to draw their signatures on the screen.

To control the signature, we need to use a SignatureController.

Based on the properties above,
penColor:This is the color of the signature line drawn on the pad.penStrokeWidth:This determines the width or thickness of the signature line drawn.exportBackgroundColor:This will determine the color of the exported png image.point:this is a setter representing the position of the signature on the 2D canvas.onDrawStart:A callback function that notifies us when the drawing has started.onDrawMove:A callback function that notifies us while drawing our signature.onDrawEnd:A callback function that notifies us when the drawing has stopped.
Conclusion:
Implementing digital signatures in your Flutter app allows you to ensure the integrity and authenticity of digital documents.
I hope this tutorial helps your to understand about Signing Widget. You can also read out other blog here.


Be the first to comment.