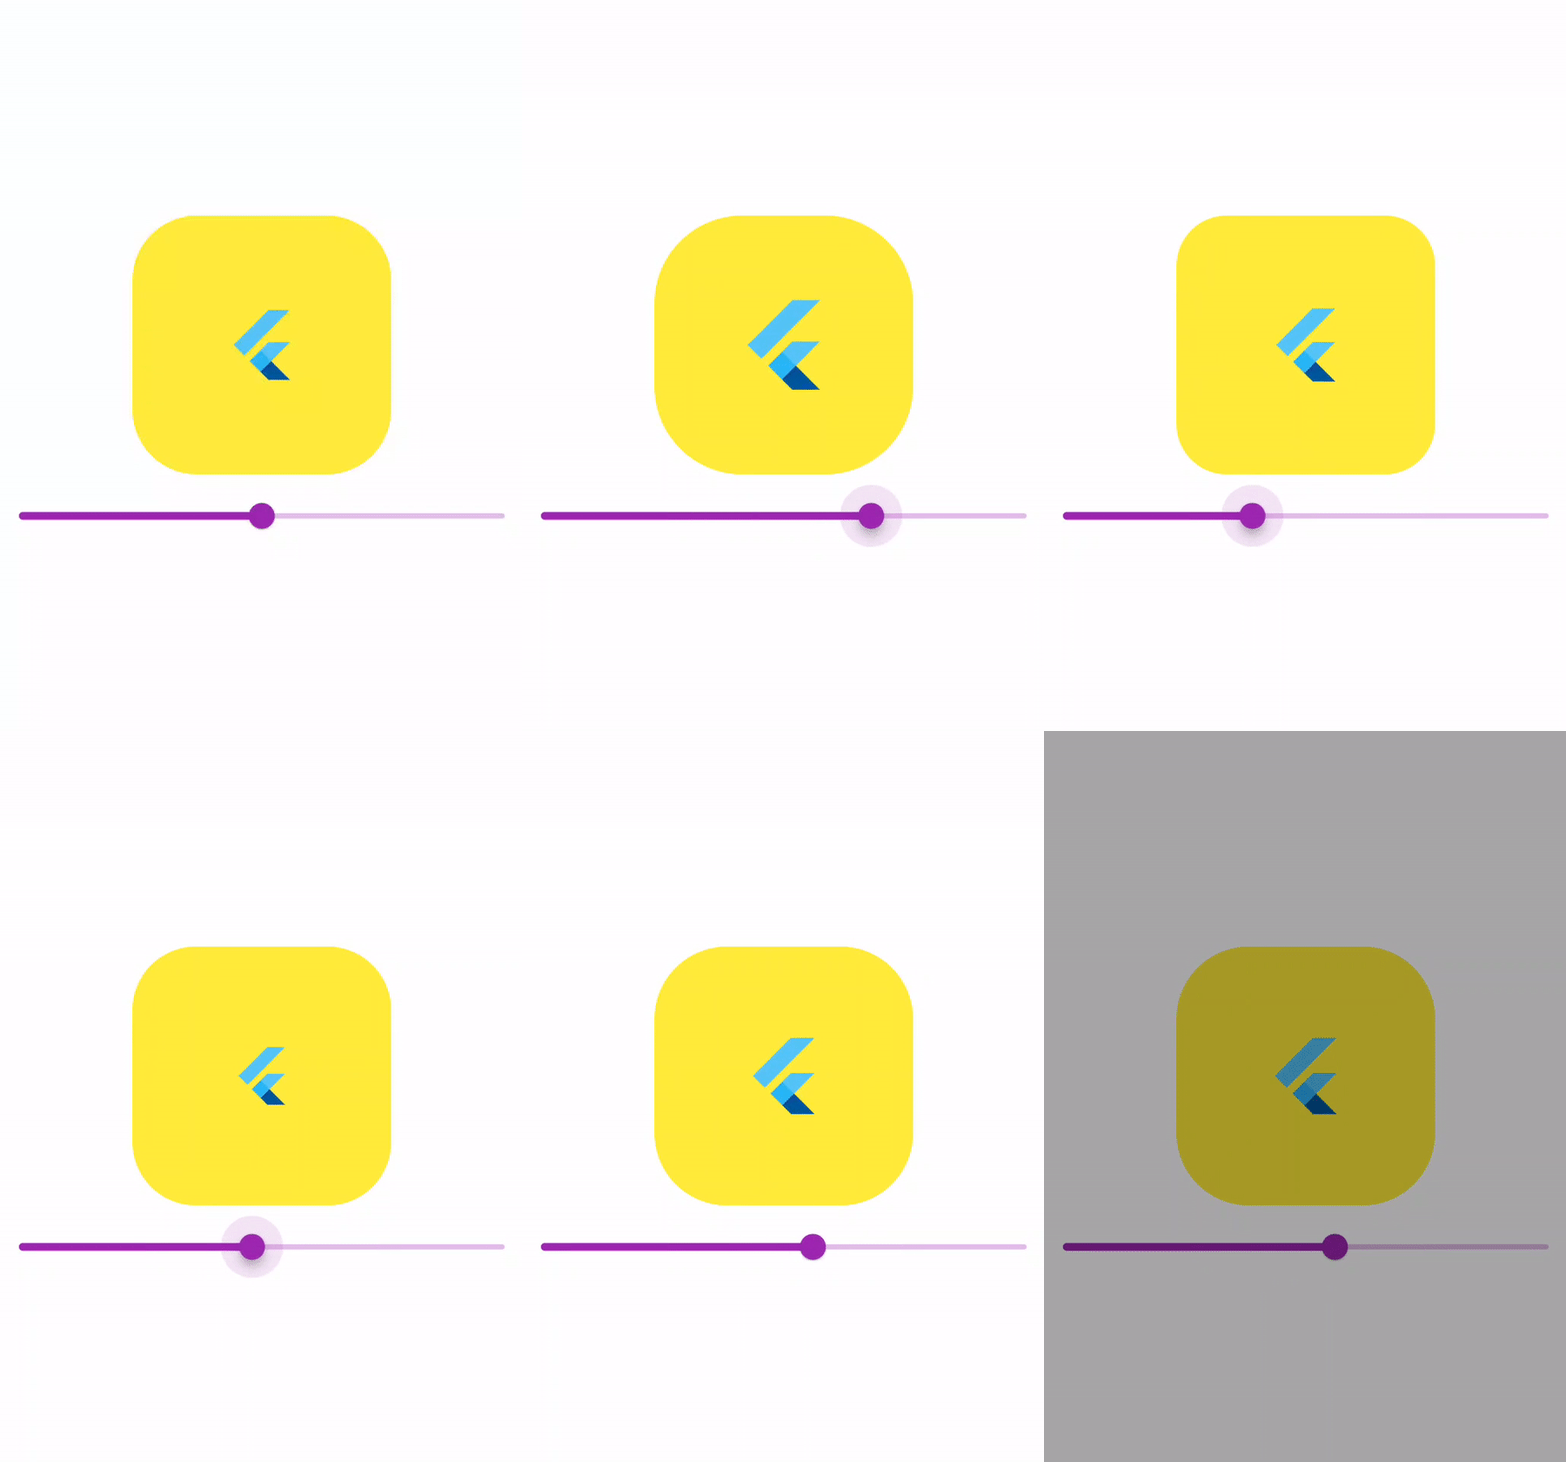
In this blog, we are going to learn about how to create a ClipRect in a flutter. So let’s get started.
It is a widget that clips its child using a rectangle. The widget to be clips needs to be set as child an argument.
Use with ClipRect class to show specific ClipRect.
It is a widget that clips its child using a rectangle.
You may also find out more about Flutter app development services from Mobikul.
To implement the ClipRect do follow the steps mentioned below.
1.) Create a Scaffold.
2.) Create the main widget as you desire.
3.) Do create a layout that consists of customizing the size of any image or container.
1.) Create a Scaffold. :
Inside Scaffold widgets, it Implements the basic material design visual layout structure. First, initialize the main app as a stateless widget.
This class provides APIs for showing drawers and bottom sheets. We can add the background color inside the scaffold widget.
It also supports special Material Design components, such as Drawers, AppBars, and SnackBars.
|
1 2 3 4 5 6 |
void main() => runApp(DemoClipRect()); class DemoClipRect extends StatefulWidget { @override DemoClipRectState createState() => DemoClipRectState(); } |
2.) Create the main widget as you desire.
Now, use the ClipRect widget inside the body of the scaffold widget and place it in the middle using the center widget.
|
1 |
var demo_clip_rep_size = 50.0; |
3.) Do create a layout that consists of customizing the size of any image or container.
Creating a custom clipper requires creating a class. Which extends the CustomClipper<Path> and should override the two methods.
By using ClipPath, it customizes the size of any image or container. The clip path has a clipper property that requires a custom clipper.
We can specify the radius of the corner in the borderRadius property of this widget, while we can not resize it in an image with rounded corners without this widget container widget decoration properties.
The full code is mentioned below.
|
1 2 3 4 5 6 7 8 9 10 11 12 13 14 15 16 17 18 19 20 21 22 23 24 25 26 27 28 29 30 31 32 33 34 35 36 37 38 39 40 41 42 43 44 45 46 47 48 49 50 51 52 53 |
import 'package:flutter/material.dart'; import 'package:flutter/widgets.dart'; void main() => runApp(DemoClipRect()); class DemoClipRect extends StatefulWidget { @override DemoClipRectState createState() => DemoClipRectState(); } class DemoClipRectState extends State<DemoClipRect> { var demo_clip_rep_size = 50.0; @override Widget build(BuildContext context) { return Column( mainAxisSize: MainAxisSize.min, mainAxisAlignment: MainAxisAlignment.center, children: <Widget>[ Padding( padding: const EdgeInsets.all(8.0), child: ClipRRect( child: Container( width: 220, height: 220, color: Colors.yellow, child: Center( child: FlutterLogo( size: demo_clip_rep_size + 10, )), ), borderRadius: BorderRadius.circular(demo_clip_rep_size), ), ), Container( child: Slider( value: demo_clip_rep_size, activeColor: Theme.of(context).primaryColor, inactiveColor: Theme.of(context).primaryColor.withOpacity(0.3), min: 0.0, max: 120.0, divisions: 120, onChanged: (double value) { setState(() { demo_clip_rep_size = value; }); }, ), ), ], ); } } |

We can now run the app on how to create clipart in a flutter.
Finally, we have implemented the flow of creating a clipRect in a flutter.
Hope this blog helps you to create clipRect in a flutter.
So, I hope it will help you out in understanding and getting a brief idea about it.
You can also check these links.
Another mentioned URL.
For more understanding please can go through this Link:
That’s all, You can enjoy your ClipRect implementation in a flutter.

Be the first to comment.