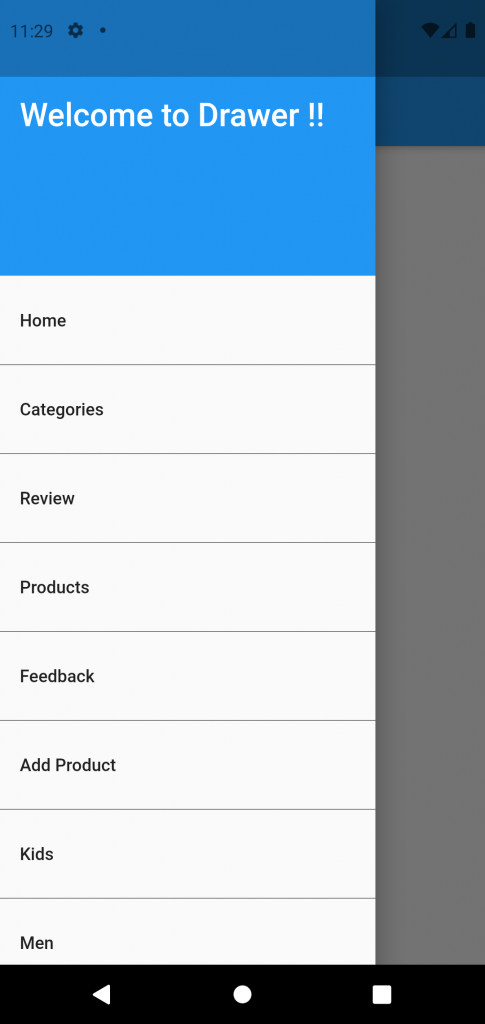
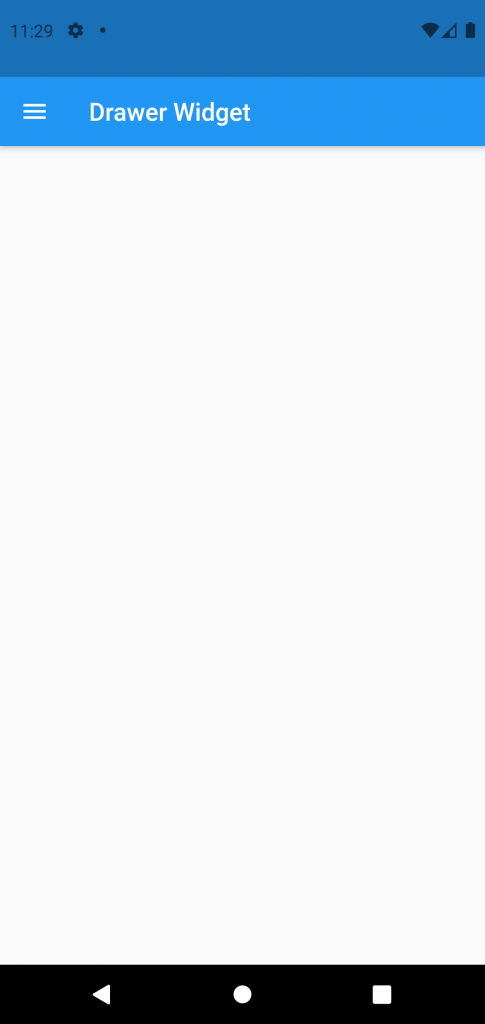
The drawer widget in flutter is used to make your application more simplified.
It provides you with an additional feature to directly navigate to the page in the application.
Usually, all children of the drawer are in ListView and perform an action after tapping on the child.
The drawer menu button is present in app bar on the application. You can directly navigate to your destination page directly from the drawer of the application.
It’s an invisible screen that opens from the side when tapping on the drawer button.
It’s a material library widget. That we used to create drawer in the application
Read more about Flutter app development services from mobikul.
Now let me show you some code snippets that can make it easier to implement the drawer widget.
main.dart for Drawer widget in flutter
Below code, the snippet is of main file its the starting of the app and just call the main drawer page.
|
1 2 3 4 5 6 7 8 9 10 11 12 13 14 15 16 17 |
import 'package:flutter/material.dart'; import 'drawerPage.dart'; void main() { runApp(MyApp()); } class MyApp extends StatelessWidget { // This widget is the root of your application. @override Widget build(BuildContext context) { return MaterialApp( debugShowCheckedModeBanner: false, home: DrawerPage(), ); } } |
drawerPage.dart
In this code snippet, we implement the code for the Drawer and check comments that explain what’s going in the code.
|
1 2 3 4 5 6 7 8 9 10 11 12 13 14 15 16 17 18 19 20 21 22 23 24 25 26 27 28 29 30 31 32 33 34 35 36 37 38 39 40 41 42 43 44 45 46 47 48 49 50 51 52 53 54 55 56 57 58 59 60 61 62 63 64 65 66 67 68 69 70 71 72 73 74 75 76 77 78 79 80 81 82 83 84 85 86 87 88 89 90 91 92 93 94 95 96 97 98 99 100 101 102 103 104 105 106 107 108 109 110 111 112 113 114 115 116 117 118 119 120 121 122 123 124 125 126 127 128 129 130 131 132 133 134 135 136 137 |
import 'package:flutter/cupertino.dart'; import 'package:flutter/material.dart'; class DrawerPage extends StatefulWidget { @override _DrawerPageState createState() => _DrawerPageState(); } class _DrawerPageState extends State<DrawerPage> { final divider = Divider( color: Colors.black, ); @override Widget build(BuildContext context) { return Scaffold( //App bar title appBar: AppBar( title: Text("Drawer Widget"), ), //Empty body with a empty container body: Container(), // Take Drawer widget drawer: Drawer( //ListView to listdown children of drawer child: ListView( padding: EdgeInsets.zero, children: [ //Drawer header for Heading part of drawer const DrawerHeader( decoration: BoxDecoration( color: Colors.blue, ), //Title of header child: Text( 'Welcome to Drawer !!', style: TextStyle(fontSize: 26, color: Colors.white), ), ), //Child tile of drawer with specified title ListTile( title: const Text('Home'), //To perform action on tapping at tile onTap: () { Navigator.pop(context); }, ), divider, ListTile( title: const Text('Categories'), onTap: () { Navigator.pop(context); }, ), divider, ListTile( title: const Text('Review'), onTap: () { Navigator.pop(context); }, ), divider, ListTile( title: const Text('Products'), onTap: () { Navigator.pop(context); }, ), divider, ListTile( title: const Text('Feedback'), onTap: () { Navigator.pop(context); }, ), divider, ListTile( title: const Text('Add Product'), onTap: () { Navigator.pop(context); }, ), divider, ListTile( title: const Text('Kids'), onTap: () { Navigator.pop(context); }, ), divider, ListTile( title: const Text('Men'), onTap: () { Navigator.pop(context); }, ), divider, ListTile( title: const Text('Furniture'), onTap: () { Navigator.pop(context); }, ), divider, ListTile( title: const Text('Women'), onTap: () { Navigator.pop(context); }, ), divider, ListTile( title: const Text('Animals'), onTap: () { Navigator.pop(context); }, ), divider, ListTile( title: const Text('Toys'), onTap: () { Navigator.pop(context); }, ), divider, ListTile( title: const Text('Exit'), onTap: () { Navigator.pop(context); }, ), ], ), ), ); } } |
Images of Drawer widget in the flutter


I hope this blog will help you to learn about the Drawer widget and you will be able to implement it.
Happy Learning ✍️
For more blogs click here

2 comments