MobX in Flutter, is a library required in order to manage the state of applications.
There are various other approaches for state management in Flutter Applications such as –
- Inherited Widget
- Scoped Model
- Provider
- Redux
- Bloc
- GetIt
- GetX…. and many more…
Read more about our Flutter app development company.
MobX is based on three important concepts –
- Observables
- Actions
- Reactions
Now, we will be discussing these core concepts in brief.
Observables
Whenever there will be a change in data then the notification will be fired for the particular observer.
Observables can be simple as well as complex.
Actions
Actions help in mutating the observables.
They make sure that all the changes will be notified once they have been completed
Reactions
Reactions are the ones that get notified when the observable they track gets changed.
The most important feature of Reactions is they automatically track all the observables without any external work.
Here, we will be discussing the working and implementation of MobX in Flutter.
Steps for Integrating MobX
In order to integrate MobX into Flutter App, we have to follow some steps-
Firstly, add mobx: ^2.0.5 and flutter_mobx: ^2.0.2 dependency in the pubspec.yaml file.
|
1 2 |
mobx: ^2.0.5 flutter_mobx: ^2.0.2 |
Now, Add these dependencies under dev_dependencies in the pubspec.yaml file itself.
|
1 2 |
build_runner: ^2.1.5 mobx_codegen: ^2.0.4 |
Lastly, run the “pub get” command.
Now we have added all the packages to our project.
After that, we will have to create the UI for the interaction with Observables.
|
1 2 3 4 5 6 7 8 9 10 11 12 13 14 15 16 17 18 19 20 21 22 23 24 25 26 27 |
import 'package:flutter/material.dart'; import 'package:flutter_mobx/flutter_mobx.dart'; import 'package:mobxdemo/counter_update.dart'; class CounterUI extends StatelessWidget { final count = CounterUpdate(); @override Widget build(BuildContext context) { return Scaffold( appBar: AppBar( title: const Text("Working with MobX in Flutter"), ), body: Column( mainAxisAlignment: MainAxisAlignment.center, children: [ Row( mainAxisAlignment: MainAxisAlignment.spaceAround, children: [ ElevatedButton(onPressed: () {count.incrementFunc();}, child: const Icon(Icons.add)), Observer(builder: (_) => Text("${count.counter}")), ElevatedButton(onPressed: () {count.decrementFunc();}, child: const Icon(Icons.remove)), ],), ], ), ); } } |
Once we have created the UI, now we will need to create the observables and the corresponding actions in another class.
|
1 2 3 4 5 6 7 8 9 10 11 12 13 14 15 16 17 18 19 |
import 'package:mobx/mobx.dart'; part 'counter_update.g.dart'; class CounterUpdate = _CounterUpdate with _$CounterUpdate; abstract class _CounterUpdate with Store{ @observable int counter = 0; @action void incrementFunc(){ counter++; } @action void decrementFunc(){ counter--; } } |
In this code, here we have written part ‘counter-update.g.dart’,
|
1 |
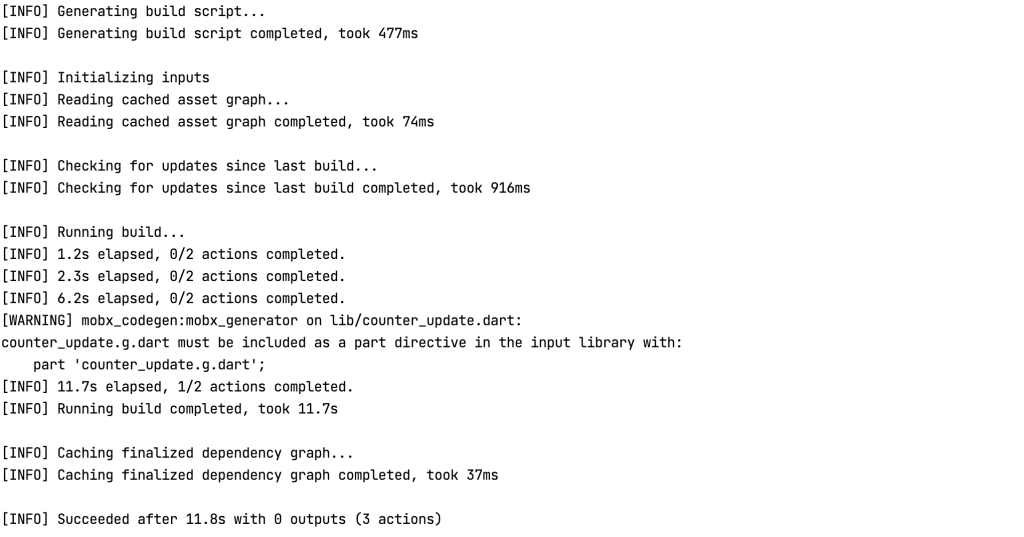
flutter packages pub run build_runner build |
Once his command gets run successfully, the file will be generated and the console will look like –
Here, we have successfully implemented MobX in our application.
Conclusion
In this blog, we have discussed how to manage the state of applications with the help of MobX Library.
I hope it will help you out in understanding and get a brief idea about it.
You may also check our blog on Bloc in Flutter – https://mobikul.com/flutter-bloc-8-0-design-pattern/
Thank you for reading!!


Be the first to comment.