In this blog we will read how we can use Drag and Drop in Android . Drag and Drop allows user to move your data from one view to another.
Drag And Drop process
In Drag and Drop process there are four steps
1.Started
2.Continuing
3.Dropped
4.Ended
1.Started
This step occurred when the user starts dragging into view. when the user starts dragging then startDrag() method will call .
2.Continuing
This step occurs when user continues to drag and shadow intersect on view and ACTION_DRAG_ENTERED event will call
3.Dropped
user can drop view anywhere on the screen . But the thing to be noted here is that you can drop the dragged element in any part of the screen but the dropped event will be called only when if you drop the view in a view that is associated with the drag event and ACTION_DROP event will call
4.Ended
when user drops shadow anywhere and then this event will occur and ACTION_DRAG_ENDED event will call
Now let’s start code for it.
MainActivity
|
1 2 3 4 5 6 7 8 9 10 11 12 13 14 15 16 17 18 19 20 21 22 23 24 25 26 27 28 29 30 31 32 33 34 35 36 37 38 39 40 41 42 43 44 45 46 47 48 49 50 51 52 53 54 55 56 57 58 59 60 61 62 63 64 65 66 67 68 69 70 71 72 73 74 75 76 77 78 79 80 81 82 83 84 85 86 87 88 89 90 |
package com.example.myapplication; import android.content.ClipData; import android.content.ClipDescription; import android.os.Bundle; import android.util.Log; import android.view.DragEvent; import android.view.MotionEvent; import android.view.View; import android.view.ViewGroup; import android.widget.ImageView; import android.widget.LinearLayout; import androidx.appcompat.app.AppCompatActivity; public class MainActivity extends AppCompatActivity { ImageView img; String msg ="MainActivity"; LinearLayout linearLayout; @Override protected void onCreate(Bundle savedInstanceState) { super.onCreate(savedInstanceState); setContentView(R.layout.activity_main); img = findViewById(R.id.imageView); linearLayout = findViewById(R.id.linearlayout); linearLayout.setOnDragListener(new View.OnDragListener() { @Override public boolean onDrag(View v , DragEvent event) { switch (event.getAction()) { case DragEvent.ACTION_DRAG_STARTED: Log.d(msg , "Action is DragEvent.ACTION_DRAG_STARTED"); break; case DragEvent.ACTION_DRAG_ENTERED: Log.d(msg , "Action is DragEvent.ACTION_DRAG_ENTERED"); break; case DragEvent.ACTION_DRAG_EXITED: Log.d(msg , "Action is DragEvent.ACTION_DRAG_EXITED"); break; case DragEvent.ACTION_DRAG_LOCATION: Log.d(msg , "Action is DragEvent.ACTION_DRAG_LOCATION"); break; case DragEvent.ACTION_DRAG_ENDED: Log.d(msg , "Action is DragEvent.ACTION_DRAG_ENDED"); break; case DragEvent.ACTION_DROP: Log.d(msg , "ACTION_DROP event"); View tvState = (View) event.getLocalState(); Log.d(msg , "onDrag:viewX" + event.getX() + "viewY" + event.getY()); Log.d(msg , "onDrag: Owner->" + tvState.getParent()); ViewGroup tvParent = (ViewGroup) tvState.getParent(); tvParent.removeView(tvState); LinearLayout container = (LinearLayout) v; container.addView(tvState); tvParent.removeView(tvState); tvState.setX(event.getX()); tvState.setY(event.getY()); ((LinearLayout) v).addView(tvState); v.setVisibility(View.VISIBLE); break; default: break; } return true; } }); img.setOnTouchListener(new View.OnTouchListener() { @Override public boolean onTouch(View v , MotionEvent event) { if (event.getAction() == MotionEvent.ACTION_DOWN) { ClipData data = ClipData.newPlainText("" , ""); View.DragShadowBuilder shadowBuilder = new View.DragShadowBuilder(img); v.startDrag(data , shadowBuilder , v , 0); v.setVisibility(View.VISIBLE); return true; } else { return false; } } }); } } |
activity_main
|
1 2 3 4 5 6 7 8 9 10 11 12 13 14 15 16 17 18 19 20 21 22 23 24 25 |
<LinearLayout xmlns:android="http://schemas.android.com/apk/res/android" xmlns:tools="http://schemas.android.com/tools" android:layout_width="match_parent" android:id="@+id/linearlayout" android:orientation="vertical" android:layout_height="match_parent" tools:context=".MainActivity"> <TextView android:layout_width="wrap_content" android:layout_height="wrap_content" android:layout_gravity="center" android:text="Drag and Drop" android:id="@+id/textView" android:textSize="25sp" /> <ImageView android:layout_width="wrap_content" android:layout_height="wrap_content" android:layout_gravity="center" android:id="@+id/imageView" android:src="@drawable/ic_baseline_drive_eta_24" /> </LinearLayout> |
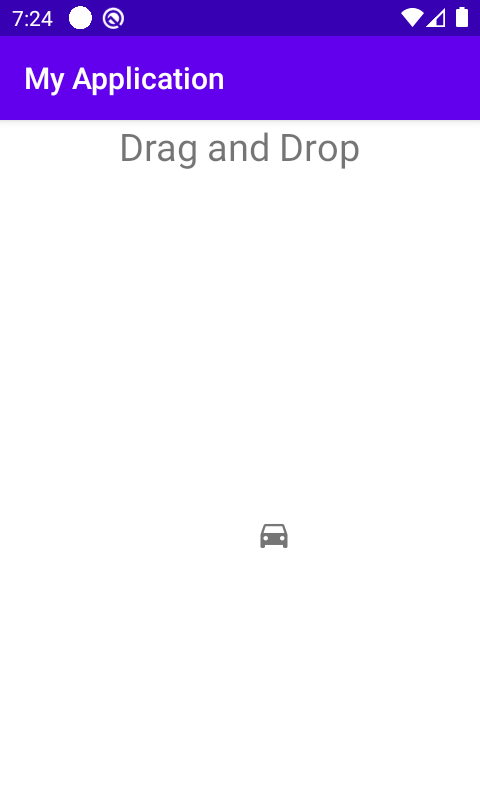
Now you can see in the screenshot how we drag car from one dimension to another


So here we discussed about How we can use Drag and Drop in Android. Thanks for reading this blog and You can get other blogs from here

Be the first to comment.