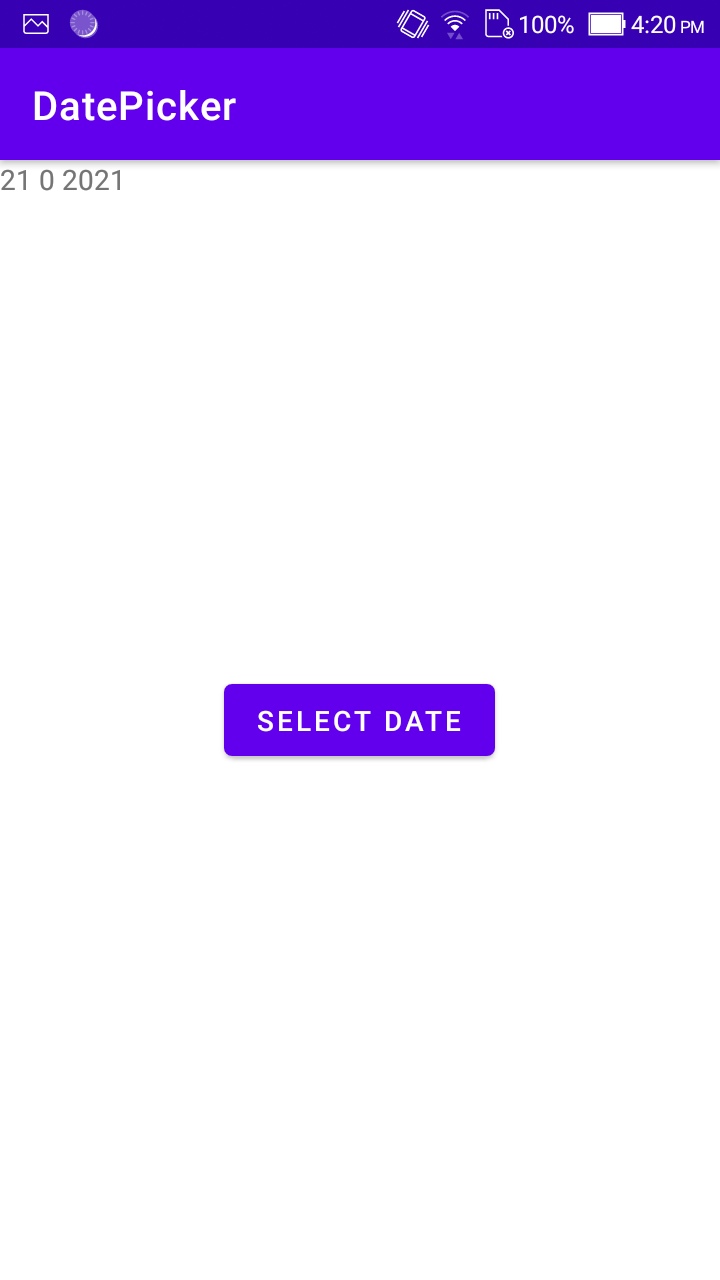
In this blog we will read how we can use DatePickerDialog in android . DatePikcerDialog in android allows user to select date . DatePickerDialog allows user to select day,month and year in our application.
activity_main.xml
In xml file we will use a button and a Textview . when user click on button he will see a Dialog and he can select date from that dialog. Which date user select will be visible in text view and you can see complete code for activity_main.
|
1 2 3 4 5 6 7 8 9 10 11 12 13 14 15 16 17 18 19 20 21 22 23 |
<?xml version="1.0" encoding="utf-8"?> <RelativeLayout xmlns:android="http://schemas.android.com/apk/res/android" xmlns:app="http://schemas.android.com/apk/res-auto" xmlns:tools="http://schemas.android.com/tools" android:layout_width="match_parent" android:orientation="vertical" android:layout_height="match_parent" tools:context=".MainActivity"> <Button android:layout_width="wrap_content" android:id="@+id/date_picker" android:text="@string/select_date" android:layout_centerHorizontal="true" android:layout_centerVertical="true" android:layout_height="wrap_content"/> <TextView android:layout_width="wrap_content" android:text="@string/select_date" android:id="@+id/text" android:layout_height="wrap_content"/> </RelativeLayout> |
DatePickerDialog select date from instance of Calendar so we use get Instance method. check below code and See how can we get instance of Calendar.
|
1 |
final Calendar myCalendar = Calendar.getInstance(); |
If you want to set date so use OnDateSetListener() interface .check and see below to set date from date picker dialog.
|
1 2 3 4 5 6 7 8 9 10 11 12 |
DatePickerDialog.OnDateSetListener date = new DatePickerDialog.OnDateSetListener() { @Override public void onDateSet(DatePicker view, int year, int monthOfYear, int dayOfMonth) { myCalendar.set(Calendar.YEAR, year); myCalendar.set(Calendar.MONTH, monthOfYear); myCalendar.set(Calendar.DAY_OF_MONTH, dayOfMonth); TextView editText= findViewById(R.id.text); editText.setText(dayOfMonth+" "+monthOfYear +" "+year); } }; |
Initialize date picker dialog and send needed parameter .
|
1 2 3 |
DatePickerDialog datePickerDialog= new DatePickerDialog(this,R.style.DialogTheme, date, myCalendar .get(Calendar.YEAR), myCalendar.get(Calendar.MONTH),myCalendar.get(Calendar.DAY_OF_MONTH)); datePickerDialog.show(); |
MainActivity
In MainActivity you can we use a click listener when you click on button it will show a dialog and here you can select date.
|
1 2 3 4 5 6 7 8 9 10 11 12 13 14 15 16 17 18 19 20 21 22 23 24 25 26 27 28 29 30 31 32 33 34 35 36 37 38 39 40 41 42 43 44 45 46 47 48 49 50 51 |
package com.example.datepicker; import androidx.appcompat.app.AppCompatActivity; import android.app.DatePickerDialog; import android.graphics.Color; import android.os.Bundle; import android.view.View; import android.widget.Button; import android.widget.DatePicker; import android.widget.EditText; import android.widget.TextView; import android.widget.Toast; import java.util.Calendar; public class MainActivity extends AppCompatActivity implements View.OnClickListener { final Calendar myCalendar = Calendar.getInstance(); @Override protected void onCreate(Bundle savedInstanceState) { super.onCreate(savedInstanceState); setContentView(R.layout.activity_main); Button datePickerBtn=(Button) findViewById(R.id.date_picker); datePickerBtn.setOnClickListener(this); } DatePickerDialog.OnDateSetListener date = new DatePickerDialog.OnDateSetListener() { @Override public void onDateSet(DatePicker view, int year, int monthOfYear, int dayOfMonth) { myCalendar.set(Calendar.YEAR, year); myCalendar.set(Calendar.MONTH, monthOfYear); myCalendar.set(Calendar.DAY_OF_MONTH, dayOfMonth); TextView editText= findViewById(R.id.text); editText.setText(dayOfMonth+" "+monthOfYear +" "+year); } }; @Override public void onClick(View v) { DatePickerDialog datePickerDialog= new DatePickerDialog(this,R.style.DialogTheme, date, myCalendar .get(Calendar.YEAR), myCalendar.get(Calendar.MONTH),myCalendar.get(Calendar.DAY_OF_MONTH)); datePickerDialog.show(); } } |
You can change background color and button colors. In style you can provide negative button and positive button .
styles.xml
|
1 2 3 4 5 6 7 8 9 10 11 12 13 |
<style name="DialogTheme" parent="Theme.AppCompat.Light.Dialog"> <item name="colorPrimary">#00ffff</item> <item name="colorPrimaryDark">#987654</item> <item name="colorAccent">#ff00ff</item> <item name="android:buttonBarNegativeButtonStyle" >@style/NegativeButtonStyle</item> <item name="android:buttonBarPositiveButtonStyle">@style/NegativeButtonStyle</item> </style> <style name="NegativeButtonStyle" parent="Widget.AppCompat.Button.ButtonBar.AlertDialog"> <item name="android:textColor">#ff00ff</item> </style> |
And here you can check screenshot of date Picker how it will show


So here we discussed about how we can use DatePickerDialog in android . Thanks for reading this blog and You can get other blogs from here

2 comments
Your welcome