Updated 12 February 2025
Hello readers, today in the mobikul blog we will learn about Dealing with timestamps in Swift Programming.

Handling timestamps in the application is quite important, especially in scenarios where events on the application are strictly following the clock.
In Swift programming, Managing timestamps efficiently can greatly enhance the functionality and reliability of the Application.
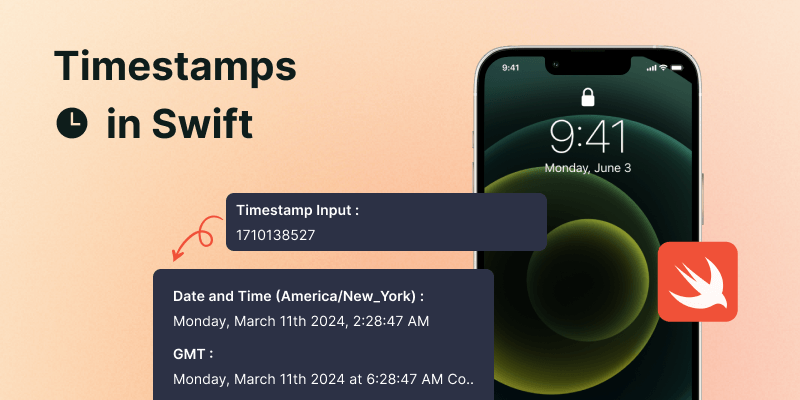
Before dealing with the timestamps, firstly let’s understand what timestamps are. In general terms, a timestamp is a way to mark and record a specific moment in time often represented by numbers.
More formally, a timestamp is a specific point in time, typically expressed as the number of seconds that have elapsed since a reference point known as the epoch.
You can check our Flutter App Development Services here.
Now that you have learned about the timestamp, you might be thinking about where and how can we use timestamps in our programming.
Dealing with Timestamps is crucial in managing and displaying the data over the application.
We can see the timestamps in action on the chatting app, where it shows the time of received or sent messages.
In Swift, you can manage the timestamps by simply adding the below code.
|
1 2 3 4 5 6 7 8 9 10 11 12 13 14 15 16 17 18 19 20 21 22 23 24 25 26 |
func getDateDayAndTime(timestamp: NSNumber) -> String { let date = Date(timeIntervalSince1970: TimeInterval(timestamp)) print(date) let calendar = Calendar.current if calendar.isDateInToday(date) { let dateFormatter = DateFormatter() dateFormatter.timeZone = NSTimeZone.local dateFormatter.dateFormat = "hh:mm a" let time = dateFormatter.string(from: date) return time } else if calendar.isDateInYesterday(date) { return "Yesterday" } else if calendar.isDateInWeekend(date) { let component = calendar.component(Calendar.Component.weekday, from: date) return self.getDay(value: component) } else{ let dateFormatter = DateFormatter() dateFormatter.timeZone = NSTimeZone.local dateFormatter.dateFormat = "dd/MM/YY" let time = dateFormatter.string(from: date) return time } } |
The above code snippet manages timestamps and converts them into the date or time.
You can also customize your display time by simply adding the below method. The below custom method returns the days of the week based on the timestamp data.
|
1 2 3 4 5 6 7 8 9 10 11 12 13 14 15 16 17 18 19 20 |
func getDay(value: Int) -> String { switch value { case 1: return "Sunday" case 2: return "Monday" case 3: return "Tuesday" case 4: return "Wednesday" case 5: return "Thursday" case 6: return "Friday" case 7: return "Saturday" default: return "" } } |
Once you add all the above functions. You will need to call the same function and pass your timestamp to it.
With this, we have learned about the timestamps and how we can deal with the timestamps in Swift programming.
You can continue your learning journey with more interesting topics and technologies with the mobikul Blog.
If you have more details or questions, you can reply to the received confirmation email.
Back to Home
Be the first to comment.