Updated 15 December 2023

In today’s blog let’s see how we can create a QR code scanner in Swift.
A quick response (QR) code is a type of barcode that can be read easily by a digital device and which stores information as a series of pixels in a square-shaped grid. QR codes are frequently used to track information about products in a supply chain and are often used in marketing and advertising campaigns.
The demo app that we’re going to build is fairly simple and straightforward.
Before we proceed to build the demo app, however, it’s important to understand that any barcode scanning in iOS, including QR code scanning, is totally based on video capture. That’s why the barcode scanning feature is added in the AVFoundation framework. Keep this point in mind, as it’ll help you understand the entire chapter.
Step 1: Firstly, Install SwiftQRScanner pod
|
1 |
pod 'SwiftQRScanner', :git => ‘https://github.com/vinodiOS/SwiftQRScanner’ |
Step 2: Then, import SwiftQRScanner
|
1 |
#import SwiftQRScanner |
Step 3: Then, create an instance of SwiftQRScanner to scan the QR code.
|
1 2 3 |
let scanner = QRCodeScannerController() scanner.delegate = self self.present(scanner, animated: true, completion: nil) |
In this step, you will get an error as we have not yet added QRScannerCodeDelegate
To use more features like camera switch, flash, and cancel options you can use the below code:
|
1 2 3 |
let scanner = QRCodeScannerController(cameraImage: UIImage(named: "camera"), cancelImage: UIImage(named: "cancel"), flashOnImage: UIImage(named: "flash-on"), flashOffImage: UIImage(named: "flash-off")) scanner.delegate = self self.present(scanner, animated: true, completion: nil) |
Step 4: Then, add QRScannerCodeDelegate and confirm to its protocol.
|
1 2 3 4 5 6 7 8 9 10 11 |
func qrScanner(_ controller: UIViewController, scanDidComplete result: String) { print("result:\(result)") } func qrScannerDidFail(_ controller: UIViewController, error: String) { print("error:\(error)") } func qrScannerDidCancel(_ controller: UIViewController) { print("SwiftQRScanner did cancel") } |
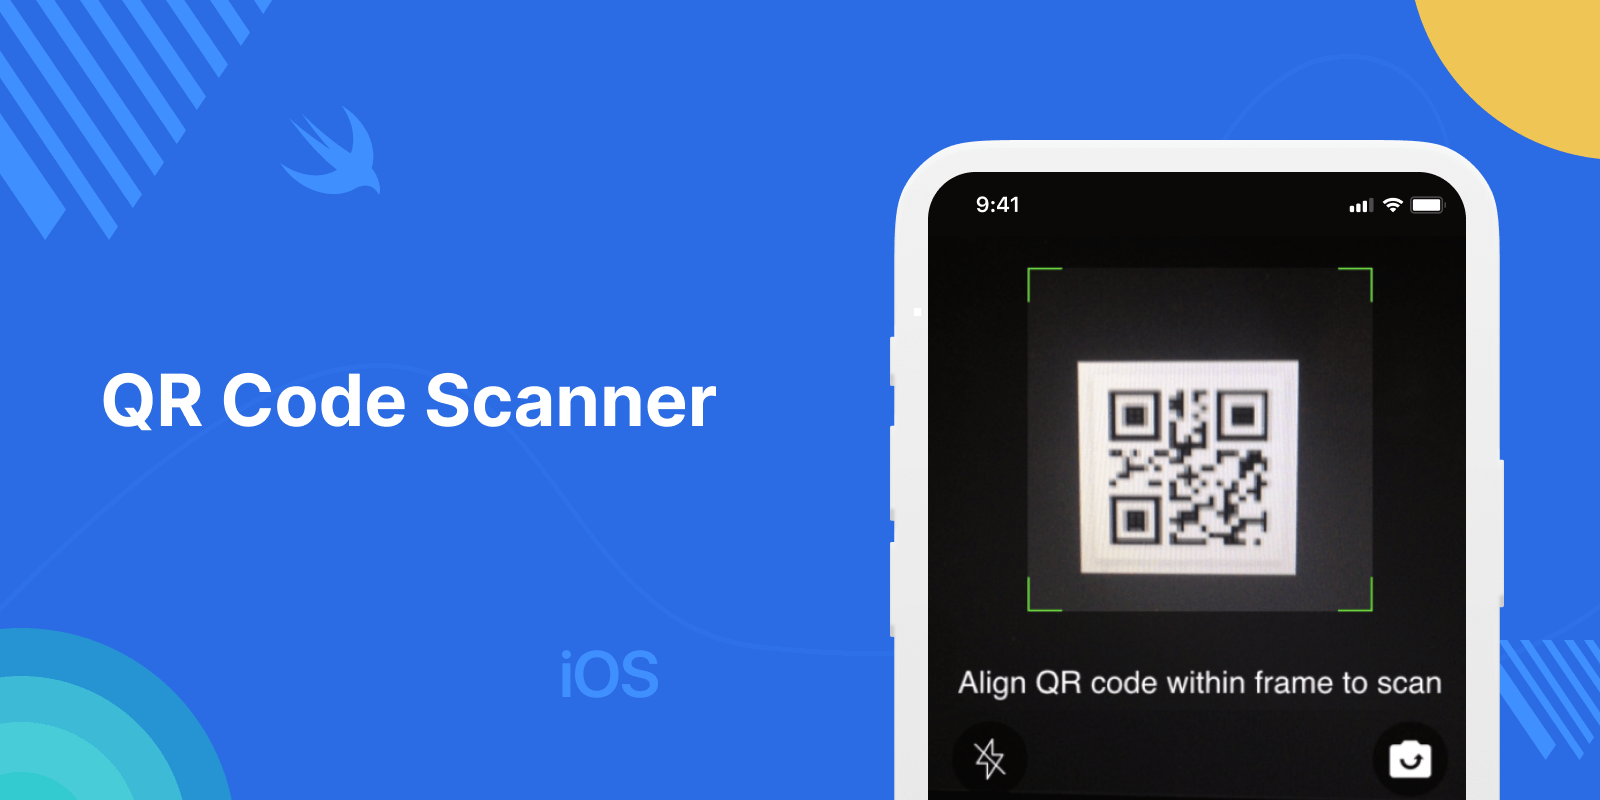
Finally, run your code and check the results:

Thanks for reading 🙂
For more interesting blogs check out here – https://mobikul.com/blog/
If you have more details or questions, you can reply to the received confirmation email.
Back to Home
Be the first to comment.