Mobikul comes with the feature to customize Category banner and category image from Admin panel. This allows the store owner to control the customize category more effectively than any other Magento e-commerce app solution.

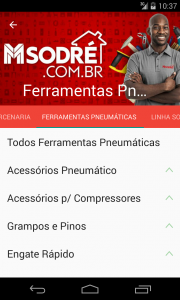
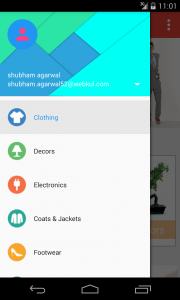
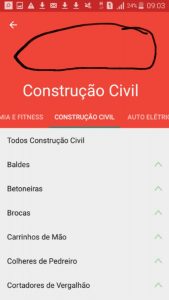 Initially, the configured application don’t contain category banner or category icon as displayed in the above screens. However, store owner can add icons and banner to each category as per their need.
Here are the steps to add category images and banner.
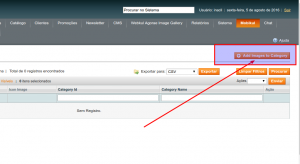
Step1. Login to Admin panel of your store. Visit Mobikul -> Add/ manage category icon and banner.
Step2. Select add images to a category to add more icons and banner to any category.
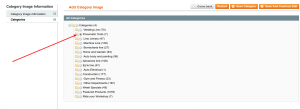
Step3. Add Category icons and banner as shown in the screenshot below.
Step4. Select a category for which the category icon and banner was set.
Step5. Press Save Category to apply changes. You can verify the result from the application or from a list of all the categories with banner and images.
Congratulation ! Your banner and icon for one category is successfully added. Follow same steps to configure other categories to get awesome results.
Note: Please use 48×48 px image for category icon and for category banner use image with ratio of width to height as 2:1. note: we are currently using 1797 x 887 pixels for all banners in the application.


Be the first to comment.